


My people, I've done it. I've taken the scribbles and chicken scratch from my baking notebook (The Lady Flour Cookbook, if you will) and turned it into a written recipe. I want to thank the Academy, and everyone who ordered a cake this week because I do my best thinking/writing/focusing while the cakes are in the oven. I think it has to do with the timer.
What I like about writing recipes is putting myself in your shoes, and thinking about the most concise way to say something, while still giving you enough detail to be successful. I can be long-winded (you've noticed? Cool), so this was a challenge. I've got so many tips I want to share with you, but I know they're not all necessary. I also know that the longer a recipe is, the more likely I am to miss an important detail. So I tried not to do that.
Having said that, I still want to share what I consider to be some crucial things to know when baking a cake. I know that baking can be less forgiving than cooking, which is why folks avoid it. For that reason, I want to share a few helpful tips that will help with your cake-making, should you choose to do some cake-making:
Read the recipe all the way through before starting. This goes for all recipes, not just cakes. That way, nothing will catch you by surprise.
For cake, unless otherwise indicated, assume that your ingredients should be room-temperature. Imagine you've just whipped your room-temperature butter, and then you add cold eggs to it. The temperature of the eggs will make the soft butter seize, giving could you a clumpy mess. Room-temperature ingredients will save you a lot of headaches.
Line and grease your pan! All recipes will tell you to grease your pans, but I recommend lining with parchment paper as well. Trace the bottom of your cake pan on some parchment paper, cut it out, and put it in your cake pan. Then, grease the top of the parchment paper and the sides of the pan. This will ensure your cake comes out everytime.
For the sake of brevity (lol, what is that?) I will stop here, because I want you to check out the recipe too.
If you end up baking the honey buttermilk cake, let me know how it turns out! If you feel like something went wrong, let me know that too and I'll see if I can help you troubleshoot.
Happy baking.
Honey Buttermilk Cake Recipe
I've never really loved the taste of pure honey, but I do really love this honey cake. Usually I find that when something is sweetened with honey, it's either overly-sweet or doesn't taste like honey at all. I feel confident in saying that, with this cake, neither of those things are true.
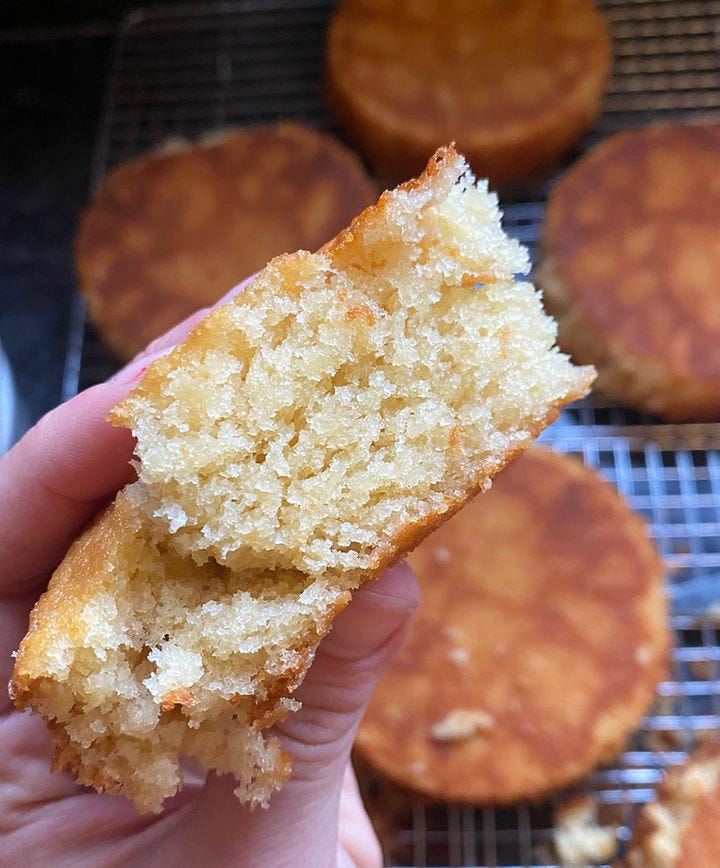
I recommend you bake it with a friend and marvel at it together. The reverse creaming method (basically, adding your fat to the dry ingredients before adding the wet) creates a really tight crumb, and if that means nothing to you, I think you'll know what I mean when the cake is finished.
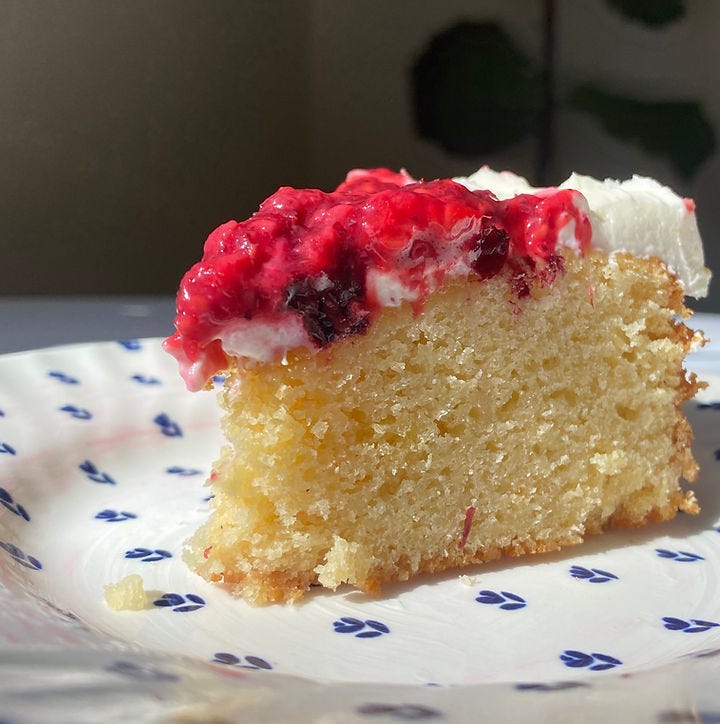
The recipe will give you two layers. I recommend filling the cake with some sour cream and fresh berries. Or jam if you don't have fruit. Anything but store-bought frosting.
You'll need:
Stand mixer or hand mixer (If you don't have either of these, swap the butter for a neutral oil, mix with a whisk, and let me know how it turns out?)
2 8-inch or 3 6-inch cake pans. These are my favorite.
Parchment paper
Ingredients:
2¼ cup (290 g) flour
3/4 cup (150 g) sugar
2 tsp baking powder
½ tsp baking soda
¼ tsp kosher salt
12 Tbsp (170 g or 1.5 sticks) butter
3 eggs, room temperature
1 cup buttermilk, room temperature
¾ cup (250g) honey
½ tsp vanilla extract
Prepare: First, read through the whole recipe. That’s right. Read the whole thing once through so that nothing catches you by surprise. Now, preheat the oven to 350. Grease and line 2 8-inch round cake pans. Using parchment paper on the bottom of the pan will ensure your cake comes out.
Combine the wet: In a small or medium bowl, combine the buttermilk, honey, and vanilla extract. Whisk until combined, then set aside.
Combine the dry: In the bowl of your stand mixer, combine the flour, sugar, baking powder, baking soda, and salt. Run the mixer on the lowest speed for about 45 seconds until all the ingredients are combined.
Add the butter to the dry: Add your room temperature butter to the dry ingredients. To keep the dry ingredients from flying out of the bowl, turn the mixer on low a few times. Essentially, start and stop the mixer until it looks like the butter is starting to incorporate. Once it does, turn the mixer to medium-low for about 1 minute. Right now, the batter should start to look like sand. When you clump it together in your hand, it should hold, but fall apart easily, like sand. Now you’re ready to add the eggs.
Add the eggs to the flour mixture: Add the eggs one at a time, mixing on low-medium for about 20 seconds between each egg. Once you’ve added all 3 eggs, increase the mixer speed to medium for 1 minute. Scrape down the sides of the bowl with a rubber spatula and mix for 1 more minute. Your batter will appear sticky, more like cookies right now. That’s okay at this stage, we haven’t really added any liquid yet.
Add the wet: Scrape down the sides of the bowl once more, to make sure your eggs are fully incorporated. Now, you’re going to add your wet ingredients in 3 additions. Pour about a third of the wet ingredients into the bowl of the stand mixer. To keep the liquid from flying out, turn the mixer on and off a few times, until the batter starts to come together. Mix on medium for about 10 seconds, then scrape down the sides of the bowl. Repeat this for half of the remaining wet ingredients, then again for the rest.
Mix: Once the wet ingredients are fully incorporated, increase the mixer speed to medium-high for 1 minute. Your batter should appear light and smooth.
Bake: Divide the batter evenly between the two pans. Bake the cakes for about 25-30 minutes. Every oven is unique, so at the 25 minute mark, start to pay attention to the following indicators for doneness. We pay closer attention to the following indicators instead of the time, so if your cake has been in for 36 minutes but doesn't appear done, it's okay! Every oven is unique. A cake is finished baking: - When you lightly touch the center of the cake, it "springs" or "bounces" back. If you can see your fingerprint left in the cake, give it 2-3 more minutes. - When you stick a toothpick into the middle of the cake, it comes out clean. If it doe not, give it 2-3 more minutes.
Cool: for about 10 minutes. After 10 minutes, run a butter knife around the sides of the pan to loosen the cake. Then, with confidence and a little oomph, flip the cake onto a cooling rack or a plate.
Serve: Allow the cake to completely cool before adding anything to it. I recommend it with some swirls of sour cream and jam. Or fresh berries if you have them. Maybe mash them up a bit to release their juice. Flaky salt would be nice too.